Manual mode on a camera gives you full control over your exposure settings, allowing for more creative freedom and the ability to fine-tune each shot. By adjusting settings like aperture, shutter speed, and ISO, you can create images that perfectly match your vision. While it may seem daunting at first, using manual mode is a powerful tool that can help you achieve unique and dynamic photos. In this post, we’ll explore how to use manual mode for creative photography and how mastering these settings can elevate your skills.
Understanding Exposure: Aperture, Shutter Speed, and ISO
Before diving into manual mode, it’s important to understand the three key elements of exposure: aperture, shutter speed, and ISO. These settings work together to determine how much light hits the camera’s sensor and how that light is captured.
- Aperture: The aperture controls how much light enters the lens by adjusting the size of the opening inside the lens. A wider aperture (lower f-number) lets in more light and creates a shallow depth of field, which is great for portraits or isolating subjects. A smaller aperture (higher f-number) allows less light but increases the depth of field, making more of the scene in focus—ideal for landscapes.
- Shutter Speed: The shutter speed controls how long the camera’s shutter remains open, exposing the sensor to light. A fast shutter speed (e.g., 1/500) freezes motion, while a slower shutter speed (e.g., 1/30) can capture movement, creating a sense of motion or blur. Adjusting shutter speed can help you capture everything from a perfectly still subject to dramatic, flowing waterfalls.
- ISO: ISO controls the camera’s sensitivity to light. A lower ISO (e.g., 100 or 200) results in less noise but requires more light for proper exposure. Higher ISO values (e.g., 1600 or 3200) are used in low-light situations, but they can introduce grain or noise into the image. Balancing ISO with aperture and shutter speed is key to a clean, well-exposed image.
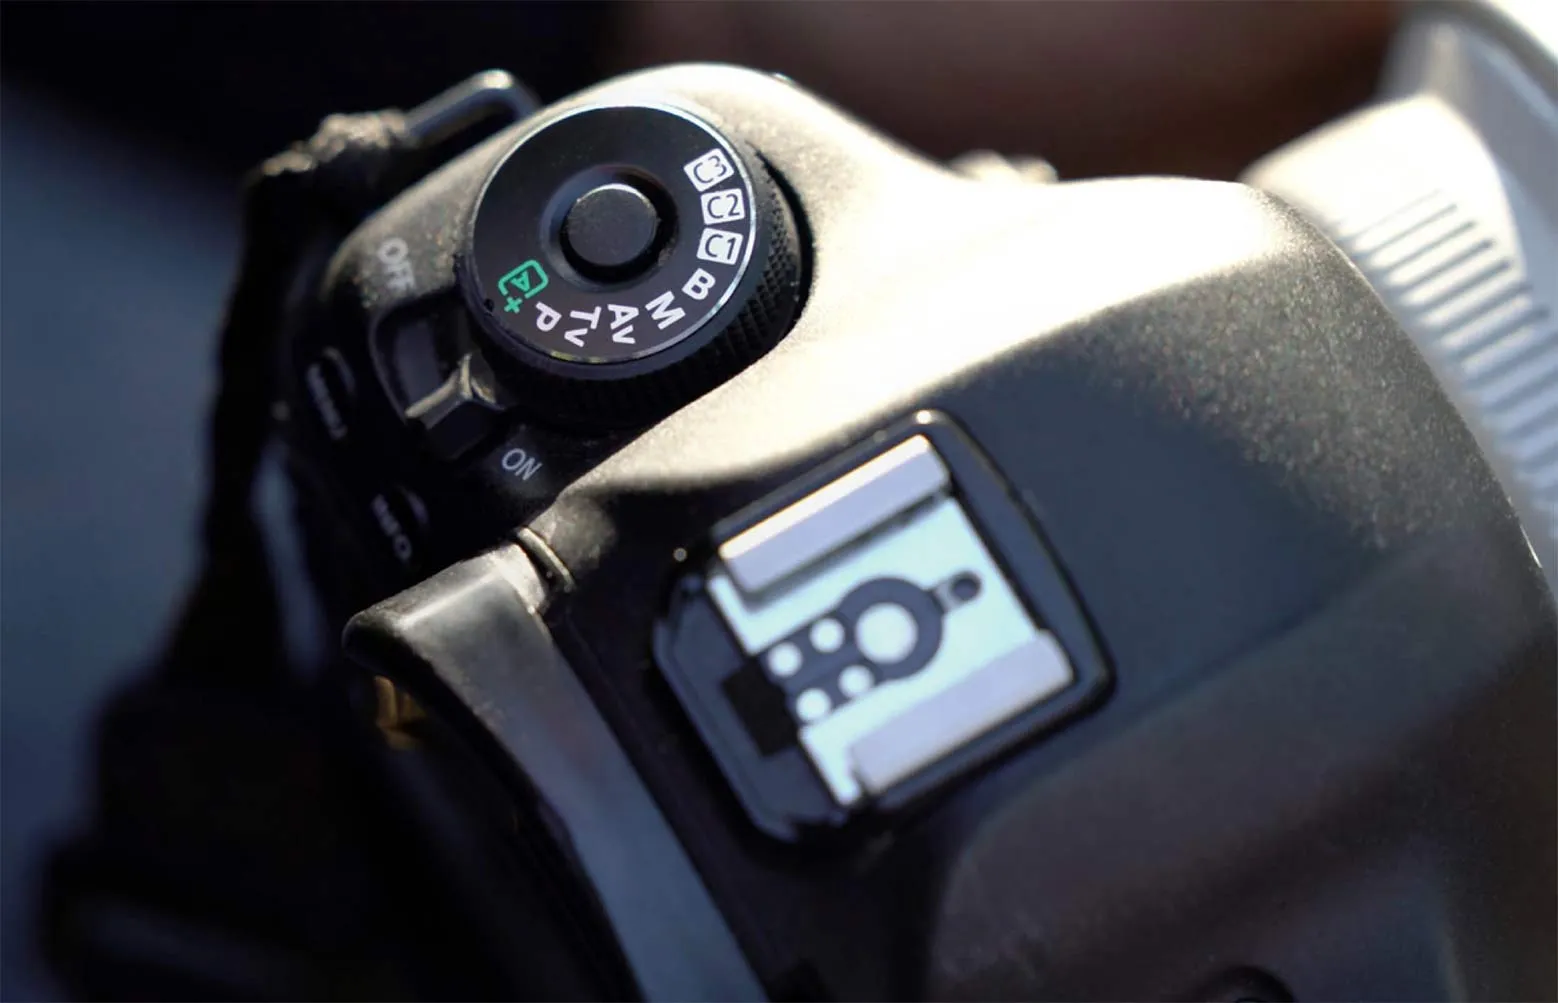
Mastering Manual Mode for Creative Control
In manual mode, you control all three of these settings, which gives you the power to shape your image creatively. Here’s how to approach each element to achieve the results you want:
- Start with Your Aperture: If you’re aiming for a specific depth of field, begin by adjusting the aperture. For portraits, you may want a wide aperture (e.g., f/2.8) to blur the background and make your subject stand out. For landscapes, you might choose a smaller aperture (e.g., f/11) to ensure that the foreground and background are both in sharp focus.
- Set Your Shutter Speed: After choosing your aperture, adjust the shutter speed. If you’re photographing fast-moving subjects, such as sports or wildlife, you’ll need a fast shutter speed to freeze the action. On the other hand, if you’re shooting a long exposure scene like a waterfall or cityscape at night, you may want a slower shutter speed to capture motion and light trails.
- Adjust ISO for the Right Exposure: ISO should be adjusted to match your lighting conditions. In bright daylight, a low ISO setting (e.g., 100) works best, while in dimmer environments, you may need to increase the ISO to ensure a well-exposed shot. However, keep in mind that higher ISO settings can introduce more noise, so try to balance ISO with aperture and shutter speed to maintain image quality.
Creative Techniques with Manual Mode
Once you’ve mastered the basics of manual mode, you can start experimenting with creative techniques. Here are a few ways to use manual settings to take your photography to the next level:
- Long Exposure Photography: By using a slow shutter speed (e.g., 1 second or more), you can capture motion, such as the smooth flow of water or light trails from cars. To prevent overexposure, use a smaller aperture (e.g., f/16) or a low ISO (e.g., 100), especially when shooting in daylight.
- Motion Blur: To convey a sense of motion, try using a slower shutter speed while tracking a moving subject. This creates a blur effect, which can add a dynamic quality to your photos, like capturing a dancer mid-performance or a cyclist racing by.
- Bokeh Effect: By using a wide aperture (e.g., f/1.8 or f/2.8), you can create a beautiful bokeh effect, where the background is softly blurred, and the subject stands out sharply in focus. This effect works particularly well in portrait and close-up photography.
- Exposure Compensation for Dramatic Lighting: Sometimes, adjusting your exposure to either overexpose or underexpose an image can add a dramatic effect. For instance, a slightly overexposed photo with rich, bright light can evoke a dreamy atmosphere, while underexposing an image can create moodier, darker tones that are perfect for capturing emotions or nighttime scenes.
Using the Histogram for Accurate Exposure
The histogram is a helpful tool in manual mode for ensuring your exposure is balanced. It provides a graphical representation of the image’s exposure, showing how the light is distributed across the shadows, midtones, and highlights.
- If the histogram is too far to the left, your image may be underexposed (too dark).
- If it’s too far to the right, your image may be overexposed (too bright).
- Ideally, you want the histogram to have a good spread across all tones without clipping on either end. By adjusting your aperture, shutter speed, and ISO accordingly, you can achieve the perfect exposure.
Conclusion
Using manual mode gives you creative control and allows you to capture images exactly as you envision them. By understanding the relationship between aperture, shutter speed, and ISO, you can manipulate light and motion to create stunning, unique photos. As you practice, you’ll gain confidence in your ability to craft your shots with precision, and you’ll find that manual mode becomes an essential tool in your creative photography toolkit. Remember, the more you experiment, the more you’ll unlock the full potential of your camera!